Disclaimer: As an Amazon affiliate, I may earn a small percentage from qualifying purchases. This is at no extra cost to you. Learn more here.
Last Updated on March 1, 2023 by Larry Edwards
The cutting tool you use in your milling machine can affect your final workpiece.
As such, you should also learn to handle a fly cutter on your own — and this is more than simply fitting your machine with the first fly cutter you see.
But for the best outcome, you have to choose the right fly cutter too.
However, fly cutters have different specifications that can make it confusing which one to get. Not to mention, you’re also dealing with what kinds are good for harder or softer materials.
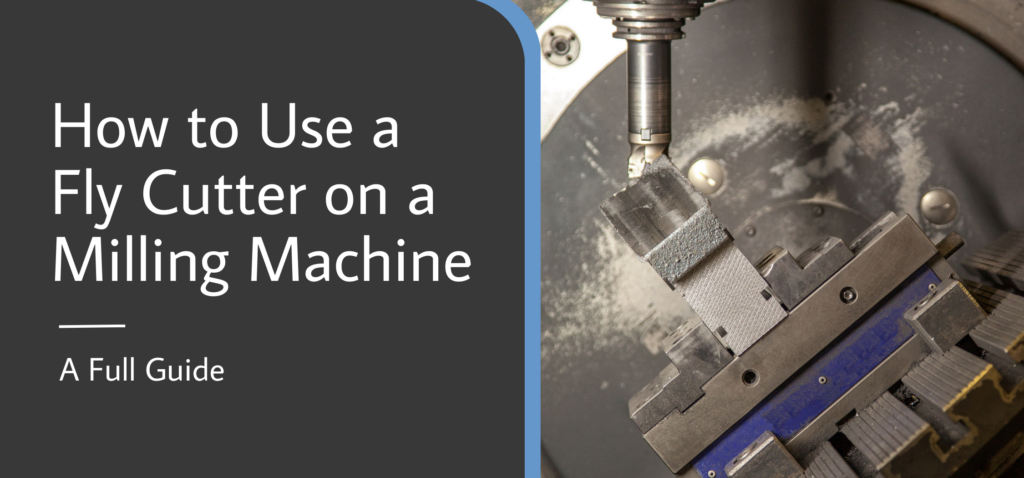
So, in this article, we’ll walk you through how to use a fly cutter and other things you should know.
Key takeaways:
- A fly cutter is a single-point cutting tool used on CNC milling machines to make large flat surfaces. It also works well on a manual mill.
- Most fly cutters are single-point tools that have two cutting edges. However, depending on your project, you can also have two tool bits.
- There are three main kinds of fly cutters: point cutter, rotary cutting tool, and rotary carving tool.
- Fly cutters are similar to face mills, but they’re better able to create finer finishes thanks to each blade having two cutting edges.
What Is a Fly Cutter?
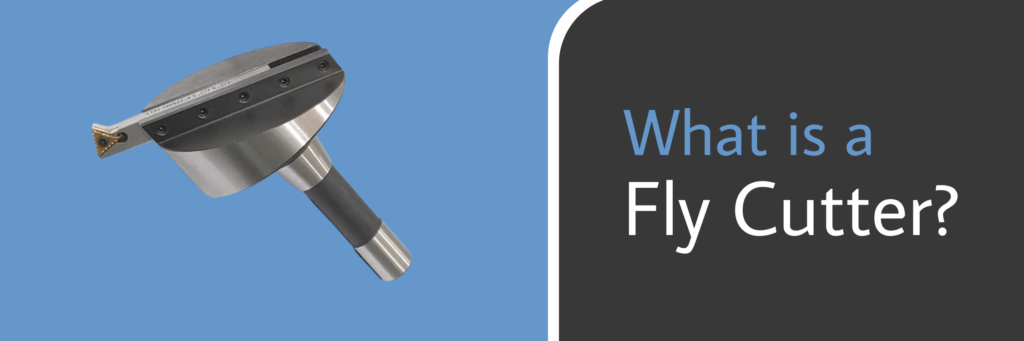
A fly cutter is a single-point rotary cutting tool used on milling machines — particularly CNC machines. But it’s also used for manual mills.
Thanks to fly cutters, a CNC machine is good for machining large and flat surfaces.
This tool has a body that lets you insert one or two tool bits (also called fly cutter bits). The fly cutter itself is similar to a lathe tool that’s mounted on a special angled holder.
Most fly cutters have several parts aside from the body and holder, including:
- Fasteners
- Thrust washer
- Draw bolt
- Left-handed carbide cutting tool
When the whole unit rotates, the bits can cut soft materials like aluminum and hard materials up to mild steel.
These machine tools normally have one tool bit — so it’s also usually a standard left-hand turning tool. This is the best option for a light-duty mill.
However, you can also opt to have fly cutters with two tool bits mounted on each end.
But the cutting edges will require more powerful machines to make the most of them.
If you try to use them on small machines, you’ll find that they won’t work well because they lack the rigidity and power that the tools need.
How to Use a Fly Cutter on a Milling Machine
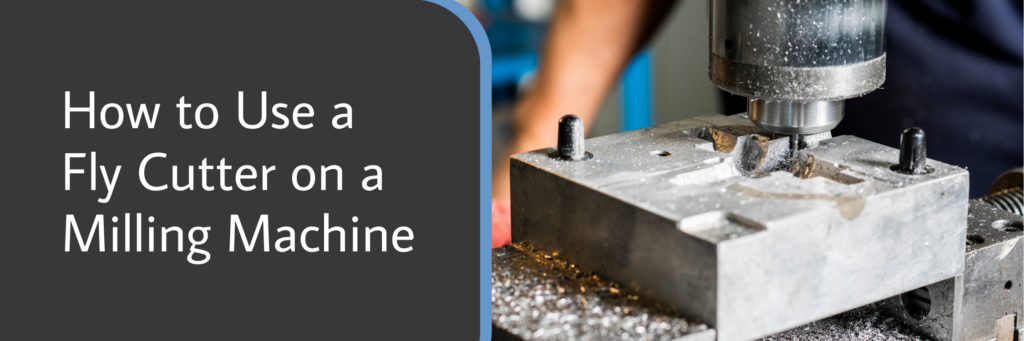
If you’re still not familiar with all the ins and outs of using a fly cutter, here’s how you can adjust it to a specific diameter:
1) Use an Edge Finder
Use the edge finder to find the edge of raw stock.
Ensure that the surface you’ll be working on is vertical and stable.
Move the machine, so the center edge finder is in the center.
2) Zero the Edges
Once the edge finder finds the edge, zero your dials and repeat the process to check if you have the same reading.
However, make sure there’s no debris or burs before you do so.
Move the spindle directly over the edge of the workpiece before you zero everything.
3) Install the Fly Cutter
Remove the edge finder and put the fly cutter body.
4) Find the Diameter
Since you know the spindle lock is at the edge of the bar stock, you can use your digital readout, dial, or drop indicator to move the machine offset the distance of the radius.
Basically, move the fly cutter to the left of the radius of the part you plan to cut.
5) Adjust the Fly Cutter
Move the fly cutter down to just above the part you’ll be cutting.
Notice the projection of the tool against the face of the vertical surface. Make sure that the tool bit doesn’t go beyond that surface.
Gently move and adjust the tool bit.
Once you’re happy with it, tighten the tool bit, then check if the body spins freely — it should not.
That’s because if it does, the diameter that you cut will end up too small.
You know you’ve set your fly cutter right if there’s a very slight trace line on the surface as it’s being cut.
Types of Fly Cutters
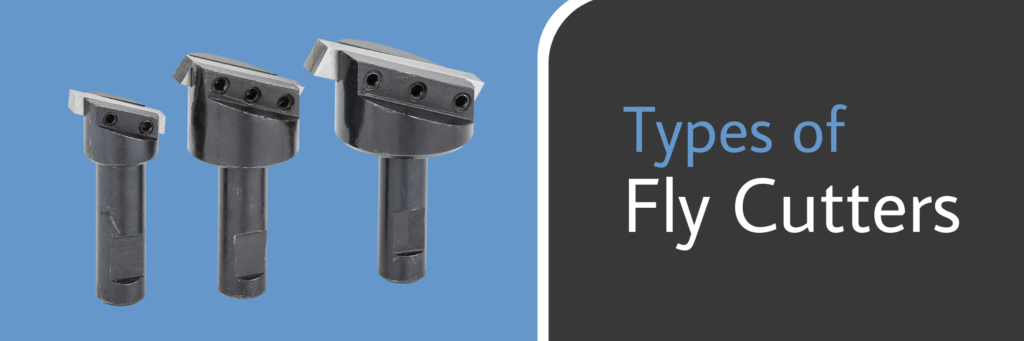
Fly cutters are designed and manufactured to meet industrial specifications.
As such, different types of fly cutters have been developed to offer different feed rates and cutting speeds needed by various projects.
Below are the common types of fly cutters:
1) Point Cutter
Point cutters are designed to cut densely-populated corals.
A point cutter has needle-like points that let it extend to hard-to-reach areas. Meanwhile, precision ground edges make for cleaner and more accurate cuts.
This tool has two cutting edges per blade — which is similar to a third of a rotary blade.
Depending on your project, you can get a point cutter that’s 500mm long or 300mm short.
Point cutters slip in and out of the handle for safe storage.
2) Rotary Cutting Tool
Rotary cutting tools are used for cleanly cutting, drilling, and grinding different fabrics. In fact, it can cut up to eight layers without accidentally distorting the patterned cutting line.
3) Rotary Carving Tool
As the name implies, a rotary carving tool is used to carve hard materials.
Manufacturers most usually use these when handling grain wood and blown glass.
What Is a Fly Cutter Used for?
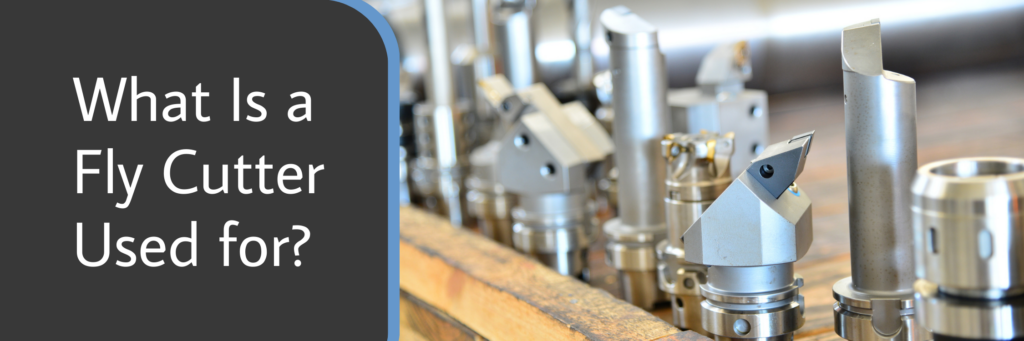
A fly cutter is used by both CNC machines and manual mills WITHOUT the need for additional arbors.
Fly cutters can remove big chunks of metals and level them. If the tool bits become dull, you can resharpen them by straightforward grinding.
A fly cutter can typically be adjusted to cut up to two inches in diameter and give a .01 inches-deep cut in aluminum.
The main body of a rotary tool accessory holds a spindle lock that opens and closes the collet so it will fit standard rotational tools.
Meanwhile, a rotary tool accessory consists of a variable-speed motor that allows a smooth operation of up to 30,000 rpm.
Factors That Affect Fly Cutter Finishing Surfaces
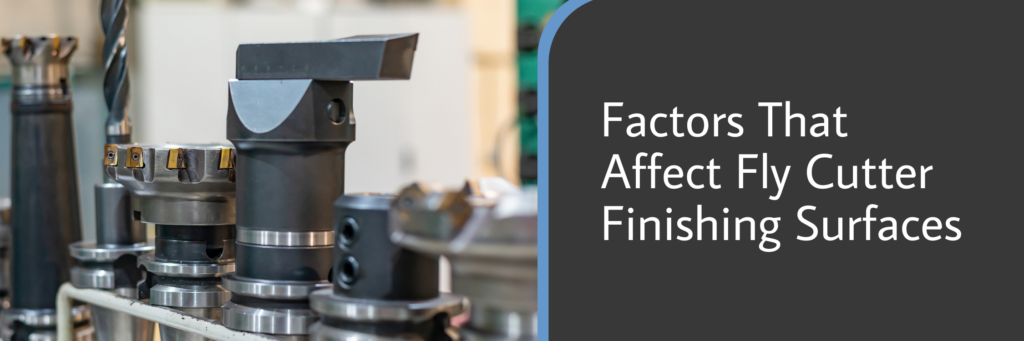
Fly cutters are great for giving surfaces a fine finish.
But below are factors you should also pay attention to so you can get the best finished surface possible:
Maintenance
A single-tooth cutter is enough for light-duty mills.
Meanwhile, multi-toothed cutters aren’t good for a small milling machine since they require power and rigidity.
You should also always ensure that the fly cutter’s cutting edge is sharp enough to go through materials without the need for additional power.
Resharpen this milling tool after long-term usage.
Point Radius
It’s a good idea to keep the point radius of the fly cutter to less than 1.5mm.
That’s because the smaller the point radius, the slower the feed rate — which will give a finer finish.
On the other hand, a large radius will cause problems like:
- Increased tool-cutting pressure
- Squealing
- Chattering
- Poor finishes
Workpiece
There’s no one-size-fits-all setting for all materials.
For instance, a 1018 steel grade will need a carbide bit with zero rakes and five degrees of relief on the surface.
However, for a 6061-TS aluminum, a high-speed fly cutter bit grinding 60 degrees of rake on the surface is better.
Because of this, always consider the material you’re cutting when fiddling with the settings.
Fly Cutter vs. Face Mill
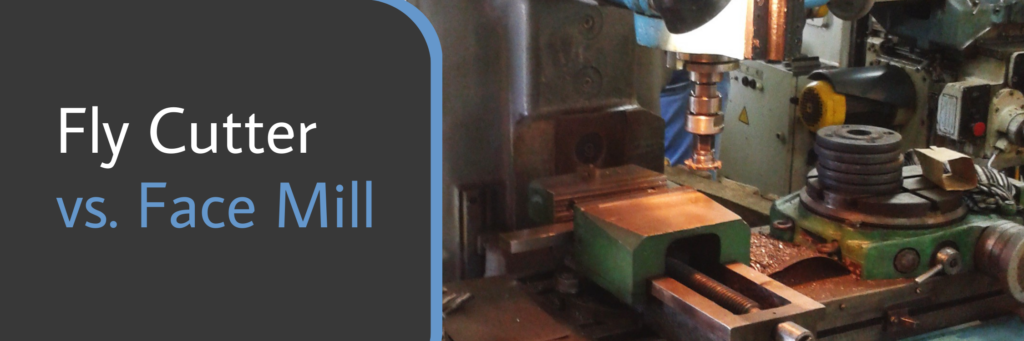
Fly cutters and face mills might seem interchangeable. After all, they’re both used for face milling, and their cutters are replaceable.
However, below are ways they’re actually different:
Inserts
Fly cutters have one or two inserts. Meanwhile, face mills have multiple inserts that are also employed at higher speeds than a fly cutter.
However, a face mill only has one cutting edge, while fly cutters have two per blade.
Surface Finishing Quality
Fly cutters use skim cuts. With typically just one insert, it’s not as fast as a face mill — but it gives you a more uniform and smoother quality surface finish.
It can produce very flat surfaces with the proper setup.
However, face mills are better for dealing with high-volume projects that require heavy removal.
Cutting Requirements
Fly cutters have a cutting edge that can overlay large surfaces into a very flat surface in just one milling session.
Meanwhile, a face mill has inserts that can’t be separately adjusted. Since each of those inserts would have a different chip load, they’re better for making ridged surfaces.
Price
Fly cutters are cheaper since they’re used for smaller machines that don’t need a lot of spindle power — not to mention they only need a maximum of two tool bits.
On the other hand, face mills have multiple cutting edges that need more powerful machines with larger spindle power.
Frequently Asked Questions
Fly cutters aren’t the easiest things to understand, what with their similarities with other tools.
Below, we’ve answered some more questions regarding fly cutters:
How Do We Set Up G-Wizard for a Fly Cutter?
G-Wizard is a speeds and feeds calculator software for CNC machines.
CNC machinists realize that fly cutting offers the best surface finish.
So, if you want to use G-Wizard for your fly cutter, what you can do is tell the software that you’re using a face mill with one insert and adjust the settings from there.
If the fly cutter you’re using has a lead angle, use the lead angle feature on the face mill type.
If you put that on G-Wizard, you’ll get 1834 rpm @ 12 ipm for a 0.100″ DOC and 1.8″ cut width. This would be enough to make a flat surface, but there would be too much chip load to get a very fine surface finish.
Perhaps the important point here is to set the feed rate on how fast your power feed will let you.
Can You Use a Fly Cutter on a Drill Press?
No, a fly cutter should not be used on a drill press.
For one, fly cutters aren’t made to be on a drill press.
Another problem is that a drill press experiences heavy pressure that can loosen the chuck.
But while a normal fly cutter won’t be good, there are fly cutters made especially for drill presses.
What is a Shell Mill Used For?
A shell mill is more commonly known as a face mill. It’s usually used in industrial milling to make a flat surface on a metal plate or bar workpiece.
If the face mills have level and evenly-worn inserts, they can result in a finer finish.
But, realistically, the chip load tends to differ among the inserts. Because of this, you won’t have a finish as fine as what fly cutters can offer.
Do Fly Cutters Have Different Specifications?
Yes, the right fly cutter depends on your milling project.
In general, you can refer to this for the best results:
- Use a 3/16-inch tool bit for a 3/4-inch body fly cutter
- Use a 1/4-inch tool bit for a 1-1/8-inch body fly cutter
- Use a 5/16-inch tool bit for a 1-3/8-inch body fly cutter
The important thing to remember is to ensure that the cutting tools get enough energy from the milling machine.
For instance, a rotary cutting tool requires power ranging from 0 to 3000rpm.
Can You Use a Fly Cutter to Cut a Hole?
Yes, you can.
Simply adjust the diameter of the fly cutter to your desired dimension of the hole. Then attach it to the CNC milling machine for drilling.
If you’re using two tool bits, you can adjust the first bit to make a roughing cut and use the second as the finishing cut.
Conclusion
Fly cutters are cutting tools with one or two tool bits, each having two cutting edges. Each cutting edge should be sharp enough to cut through materials without needing additional power.
This rotary tool is powerful enough to overlay even large surfaces into a very flat and fine finish.
However, remember to adjust the fly cutter to the right diameter to make the most of it.