Disclaimer: As an Amazon affiliate, I may earn a small percentage from qualifying purchases. This is at no extra cost to you. Learn more here.
Last Updated on March 1, 2023 by Larry Edwards
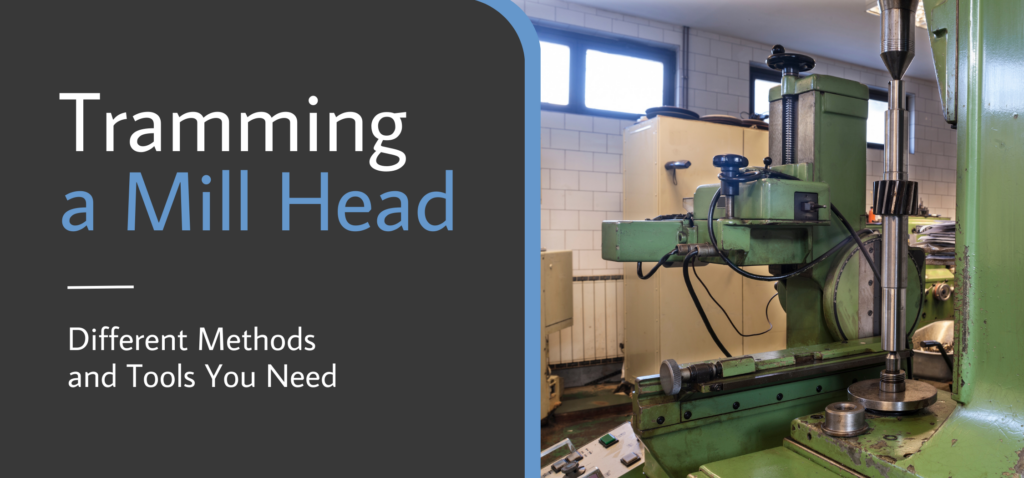
I often get asked about my experience tramming a milling machine head and even a CNC router. Is it easy?
In this article, I will discuss the different methods of tramming a milling machine head and all the tools you’ll need!
Keep reading, and let’s get started!
Key Takeaways
- Tramming is a vital process to improve the precision of your milling head by keeping the cutting tool always on the perpendicular side of the table surface. It ensures a smooth and pristine surface and eliminates a tooth pattern.
- Tramming is possible even on a milling machine that sports a swivel head. Just keep track of the zero markers for each X-axis and Y-axis direction, and make sure that the milled surfaces are mutually perpendicular to each other.
What is Tramming, and Why Do You Need It?

If you frequently use manual milling machines, you’ve most likely heard of the phrase “Tramming milling machines.”
But for someone new to the industry, understanding the tramming process might seem complicated.
To put it simply, tramming is a process where you adjust the squareness of the milling machine head. It’s a process that keeps the milling machine head always parallel to the X-axis or Y-axis of the machine, depending on the general alignment of your machine.
Most machinists know to check the tram before starting a new project. Doing this helps ensure you get a smooth and precise cut each time.
What Are the Tools You Need for Tramming?
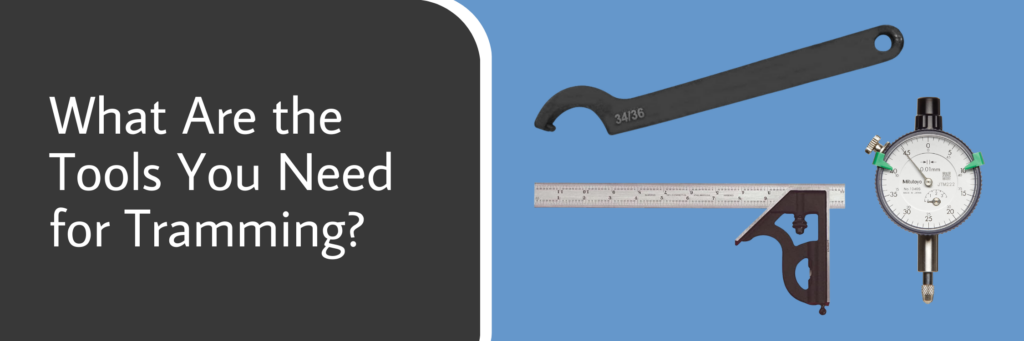
With the help of a few tools, you can tram your mill head vertically or horizontally.
Here are some of the tools I recommend you have for tramming a milling machine head.
Combination Square Combination squares aren’t anything new, and you most likely already have this tool on your desk.
It may look just like your average ruler, but it certainly does more than you think it can offer.
A combination square helps to ensure that the table surface is parallel to the quill. This tool is handy for quick mill head adjustments.
1. Dial Indicator
On top of my head, a dial test indicator is one of the essential tools you need.
I always recommend having a dial indicator in the workroom, especially if you’re always dealing with a milling machine.
The way it works is that dial indicators help check if the orientation of the mill head is still parallel to the table surface.
If you want to keep your indicator in a fixed place, attach a dial indicator holder on the machine or a magnetic base on the surface.
2. Mill Wrench
You already have this in your workplace. But if you don’t, it’s time to get yours now.
Wrenches are one of the most used and versatile tools, and tramming a mill head is no exception.
A mill wrench around helps re-tighten and clamp various bolts and screws on the mill head.
Clamping bolts regardless of the direction (clockwise or counterclockwise) would be very easy!
Different Methods to Tram a Milling Machine
You can use different methods to adjust the tram of your milling machine.
I’ve listed three of my go-to steps, which are more effective and time efficient than others.
1. Dial Indicator

Whether you’re a beginner or a pro at tramming milling machine heads, the dial indicator method is usually one of the most accurate, effective, and efficient processes out there.
You don’t need any fancy tools or equipment for this one!
Here’s a step-by-step process. on how to use the dial indicator to tram the mill head.
Step 1: Clear the Mill Table
Nothing beats a clean work table to get things started. Make sure you don’t have any unnecessary tools or objects lying around.
More importantly, you also want to check the mill table if it’s already become a rough surface or has cuts and dents to it.
Step 2: Place the Dial Indicator and Check the Readings
Attach your dial indicator to the spindle square or collet chuck. Some machines feature dial indicators that don’t need to be manually attached.
A positive reading would mean that the mill head is tilted towards the direction of the axis. And negative reading means it’s leaning away from the desired direction.
Some machinists would rely on the two protractors to determine the alignment of the mill. The red arrow must always be aligned with a zero marker on the curved protractor on the milling machine.
Step 3: Make the Necessary Adjustments
Based on the indicator, check the readings on the X-axis and Y-axis and if it is still parallel to the alignment of your machine.
Keep track of the back and front measurements, loosen the clamping bolts and make the necessary adjustments.
Once you’ve reached the tram on the mill machine, tighten the bolts again.
Repeat the same for machines with a swivel head.
2. Machinist Square
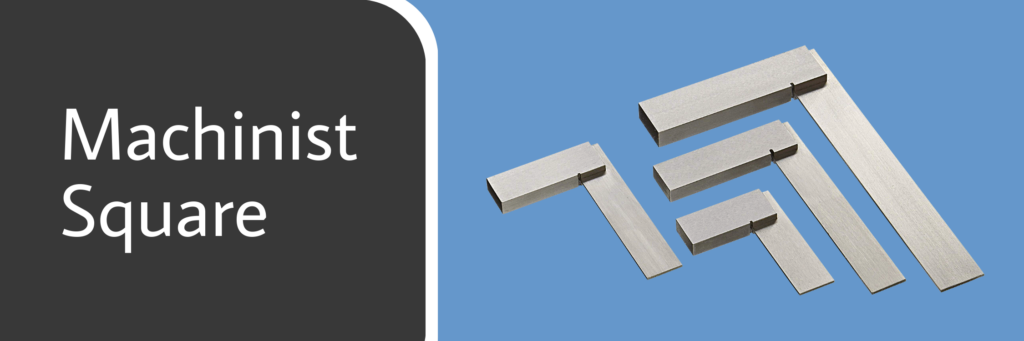
Some machinists prefer using the machinist square method because it’s a fast and simple process to tram a mill.
Personally, I don’t like using this method just because it’s not as accurate as other methods out there.
Notwithstanding this fact, knowing how the machinist square method works is a good life skill.
Step 1: Prepare Your Mill Table
First, make sure your milling table is clear of any tools. Gently lay the machinist square on the milling table.
Once this is done, you can start lowering the machine’s quill to ensure its position is perpendicular to the square of the mill.
Step 2: Adjust the Mill Head
Ideally, when you lower the quill to the square, they should be perpendicular to each other. If it is not, you’ll need to adjust the head.
The first thing you need to do is check the tram of the mill head. Similar to the dial indicator method, you want to ensure that both X and Y positions are parallel to the table.
Loosen any bolts, and straighten the quill or mill head, so they are parallel. Tighten back the bolts right after.
Step 3: Make Contact With the Table
Once you’re satisfied with the adjustments, lower the quill again to the table.
The quill should be lying flat on top of the table. If not, adjust accordingly using the steps I’ve mentioned above.
If the head of your mill swivels, rotate the same and make the necessary adjustment to land in the same position as the table.
3. Spindle Square

The spindle square method is usually the best pick for machinists who want fast and accurate results. Even more accurate than the dial test indicator for some people.
A spindle square looks similar to a dial indicator. The only noticeable difference is that the spindle indicator has two indicators instead of one.
The steps for the spindle square method are easy to understand and very straightforward. Here’s how the process works.
Step 1: Prepare Your Spindle Square
This process won’t be possible without a spindle square. If you already have one, place it on the collet chuck.
Step 2: Make the Spindle touch the Table
Gently lower the machine’s quill to the mill table or waste board. Make sure that the two indicators touch the table for this step.
Read the spindle indicator at each quarter turn, and check if the results for every two points are the same.
Generally, you’ve reached tram if both two points have the same reading. If not, it’s time to make the necessary adjustments.
Step 3: Rotate and Check the Other Axis
If both spindles have the same reading, it’s time to rotate the position of the head to the other axis.
Doing the same steps as above, adjust the quill so that the indicators touch the table. Again, you should have the same reading for each.
Repeat the steps above until you’ve reached tram.
Frequently Asked Questions
Before I leave with my parting words, allow me to answer one of the FAQs I get about tramming a mill head.
Which Is the Easiest Tramming Method?
Of the three methods mentioned above, I find the spindle square method to be the most reliable, efficient, and accurate.
You can check both axes and see if they are perpendicular to the head of your machine!
Make sure you use a reliable spindle indicator for this process, and you’re good to go.
Final Thoughts
Tramming a mill head may initially sound intimidating, but you have nothing to worry about.
There are different methods you can try out, ensuring you find the best process that fits that can help extend tool life.
I hope you found this article informative. Let me know in the comments what you think is the best method to check the tram and why.
Feel free to share this article with your friends looking for a fast and easy way to check the tram on their milling machine.