Disclaimer: As an Amazon affiliate, I may earn a small percentage from qualifying purchases. This is at no extra cost to you. Learn more here.
Last Updated on December 21, 2023 by Larry Edwards
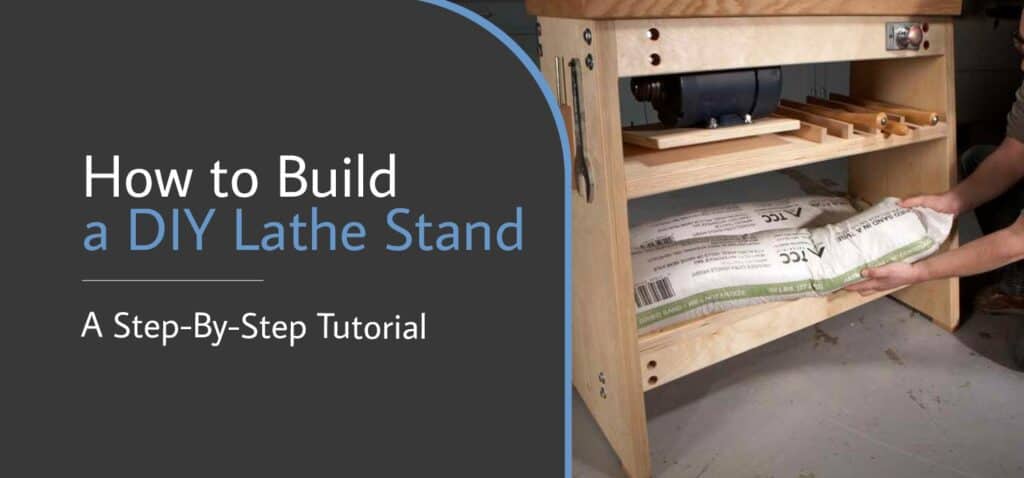
If your room doesn’t have enough space for another large tool, you will need to build a DIY lathe stand so it would take up the least amount of space and be simple to move out of the way.
An excellent lathe stand is just as crucial as an excellent lathe. This article will teach you how to construct a sturdy, substantial, steady lathe stand of professional caliber.
You can either buy or manufacture your wood lathe stand. Making your tools, especially power equipment, is a rewarding experience.
With the correct instructions, equipment, and materials close at hand, you should be able to build a wood lathe stand.
Even though it could take some time to complete, the result will be well worth the effort. Below is a step-by-step guide and some advice. Let’s get going!
Materials You Will Need

Some of the tools and materials we gathered to construct this mobile lathe stand are listed below.
Equipment
- Kreg Jig K5
- Clamps
- Drill / Driver
- Saw
Materials
- 2x4x8 (4)
- 2x6x8 (2)
- Wood glue
- 2 1/2″ pocket hole screws
- 3″ swivel caster wheels with brakes (4)
- Screws (12) and washers (12) for the caster wheels
Cut Checklist
- 2×4 – 29″ (3) Bottom Shelf
- 2×4 – 24″ (2) Leg Base
- 2×4 – 12″ (2) Leg Top
- 2×4 – 29 1/2″ (4) Legs with 12-degree bevel
- 2×6 – 29″ (2) Top Shelf
- 2×6 – 13″ with 12-degree short miter point to short point (2) Leg braces
- 2×6 – 32 3/4″ (1) Main Brace
These specifications should be modified to fit your height (or use a platform to increase your height).
From your elbow to the ground, measure the distance. The middle of your lathe should be at this height.
Build Your DIY Lathe Stand: Steps to Follow

The steps for creating your lathe stand are as follows:
1. All Boards Should Be Cut to Size
Cut the 2×4 and 2×6 boards to the desired size by following the cut list.
A tip for everyone: take your time using the jointer and planer to ensure the boards are straight. Don’t skip this step!
2. Using a Pocket Hole Jig, Drill Holes for Pockets Into:
- The planks at the ends of the lower shelf
- Boards at each end of the top shelf
- Legs of the table at either end
- Braces at each end of the legs
3. Fit the Legs Together
To build the mobile stand’s legs, gather the table legs, the leg base, and the leg top. The completed leg ought to resemble a trapezoid.
- Screw the table legs (2×4–24′′) onto the base of the table legs.
- Under the table leg top, screw the table legs (2×4–12′′).
Glue the joints together.
4. Attach the Top Shelf Supports
Connect the table legs to the supports for the top shelf (2×6 – 29″).
5. Attach the Bottom Shelf Supports
Connect the table legs to the bottom shelf supports (2×4 – 29″).
6. Leg Brace Attachment
The table legs should be joined to the leg braces (2×6 – 13″).
7. Connect the Primary Brace
The two leg braces should be connected to the main brace (2×6 – 32 3/4″).
8. Put the Caster Wheels In
Add a caster for each corner of the mobile lathe stand by drilling pilot holes for the caster wheel screws and installing the caster with corresponding washers.
9. Make Holes for the Lathe’s Feet (Optional)
Trace the lathe’s feet’s shape after transferring it to the stand. Remove the lathe from the stand, then use a Forstner bit to drill holes for each foot about 1/8″ deep.
Although this step is optional, it will stop the lathe from moving on top of the stand.
10. Enjoy!
Take advantage of having a lathe on wheels by adding hooks and other attachments.
FAQs

If you need help finding the answers you’re looking for, here are some of the most often-asked questions regarding making DIY lathe stands and some related questions.
How Tall Should a Lathe Stand Be?
Adjust the lathe’s height, so the spindles are at or slightly below elbow height.
The ideal height for your wood lathe is where you can manipulate the tools and feel most at ease while turning.
What Can I Make With a Metal Lathe for Beginners?
These are the 4 easy metal lathe projects that you can make quickly: Metal Scriber, Metal Mallet/Hammer, Metal Wedding Ring, and Steel Jewelry Box.
You can check out these metal lathe books for beginners that are more comprehensive!
What Should You Not Do on a Lathe?
The wisest course of action would be for you to refrain from:
- Wearing loose clothing, jewelry, watches, or gloves is prohibited. Constrict and tie back long hair. Never lean on the machine. Stay upright. Stay away from flying chips with your face and eyes.
- Please do not alter the machine while it is running. Hold off until the machine has completely stopped.
- Avoid touching the lathe’s rotating work with your hands.
- Using calipers or gauges on a workpiece while a machine is running is not advised.
- Avoid deep cuts on long, thin parts since they may flex and fly out of the lathe.
- When the lathe is running, please do not leave it unattended.
Can You Use a Wood Lathe to Form Metal?
Wooden workpieces are specifically worked on wood lathes. They are not appropriate for workpieces made of metal or other tougher materials.
Compared to their metal counterparts, wood lathes are smaller and less complex. They use a straightforward pulley system to regulate the speed at which they spin the workpieces.
Though, you can turn brass on a wood lathe.
How Should a Metal Lathe Be Sized?
Double the measurement from the top of the bed to the spindle’s center. Similarly, the bed measurement represents the longest workpiece you can turn.
The distance between the spindle face and tailstock serves as the measurement.
How Much Room Does a Lathe Require?
The longest workpiece you can turn depends on the distance between centers. A photo 2 measuring at least 30 inches and preferably 36 inches are required for general work.
The equivalents in metric units for lathe dimensions are, incidentally, 760 and 915mm for metric nerds.
Conclusion
Are you prepared to build your DIY lathe stand now? We hope that this guide will be useful for your DIY project!
Making a lathe is enjoyable! Even better would be to create one from scratch using inexpensive or free materials.
If you loved the project, save it or share it on your preferred social media platform! Here are some beginner projects you can do.
You can now use this lathe to start manufacturing parts! I appreciate your reading.