Disclaimer: As an Amazon affiliate, I may earn a small percentage from qualifying purchases. This is at no extra cost to you. Learn more here.
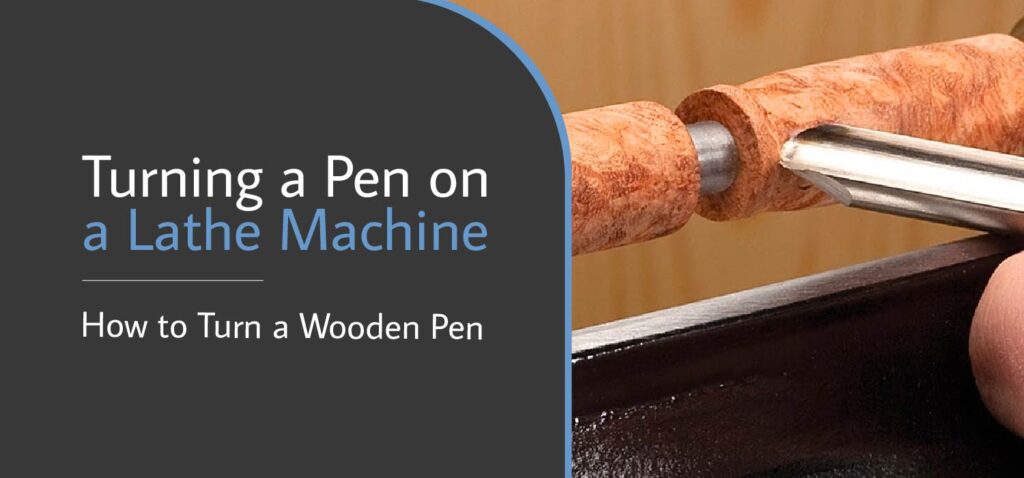
When you see those classic and customized wooden pens and think, “Wow! How did they do that?”, then you’re in luck.
In this article, we will tell you everything you’ll need to create your own pen, a step-by-step guide on turning a pen on a lathe, and some tips and tricks along the way.
Let’s dive right in and learn how to create some wooden pens!
Key Takeaways:
- The type of wood matters when it comes to turning a pen on a lathe machine. Choose wood that is soft and easy to shape.
- You can use a hand drill or a drill press to replace a lathe machine, but the latter is still the best for beginners.
- You must adjust the speed of the lathe depending on the stage you are in the process.
- While turning the pen on the lathe, use a roughing gouge so that the edges of the cylinder are smoothened before you add the finishing touches.
What Is Pen Turning?
As the name suggests, pen turning is the process of turning a piece of blank wood into a cylinder.
This cylindrical shape is most often used as a barrel for pens.
Materials You Will Need for Pen Turning

In this section, I will list down all the materials that you need in creating your own wooden pen, along with the equipment.
Here are the crucial materials that you must prepare:
- Wood or pen blanks (can be ready-made or DIY)
- Drill bit (must fit into the pen blanks)
- Epoxy (for attaching the brass to the blank)
- Sandpaper
- Brass Barrels
The following are the items you must ready in your woodworking station to be able to carve a pen out of the pen blanks:
- Pen mill (helps in assembling the other parts of the pen)
- Mandrel and live center (securing the blank to the lathe)
- Bushings (signals when to stop turning)
- Lathe
As an optional material, you can also opt to use a crystal coat to create a glass-smooth finish to the pen.
You can purchase these tools in sets as well!
How to Turn a Wooden Pen on a Lathe – The Step-By-Step Process
Step 1: Cut the Blanks
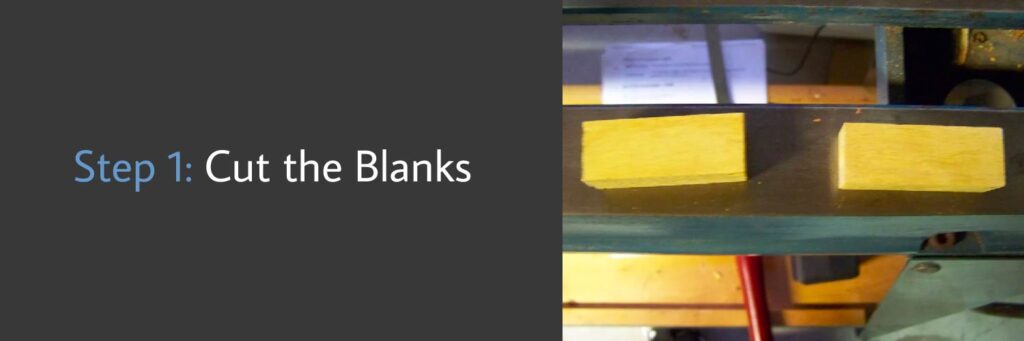
To ensure that the tubes will fit inside the blanks, draw a line along one face of the blank. Mark the end of a line with an arrow. This will help in realigning the parts later on.
From one end of the blank to another, draw a pair of intersecting lines. The intersection will be the center point.
Step 2: Drilling the Blanks
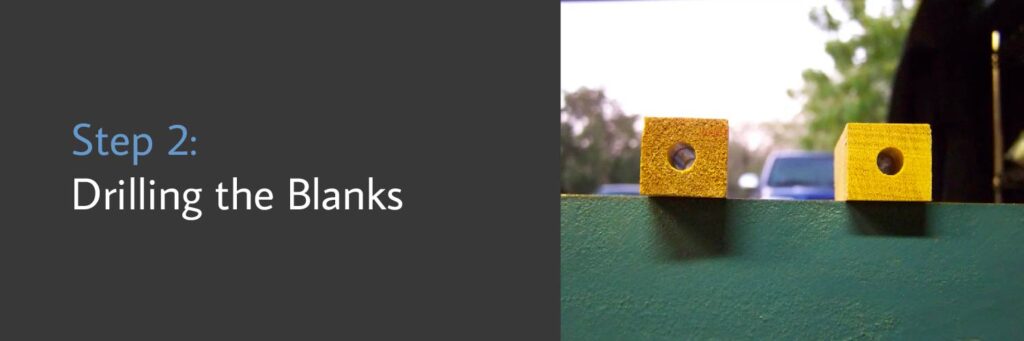
Hold the pen blank in the clamp, and drill completely through.
If you don’t have a lathe, we recommend that you use something similar like a drill press or a hand drill.
Step 3: Insert the Barrels
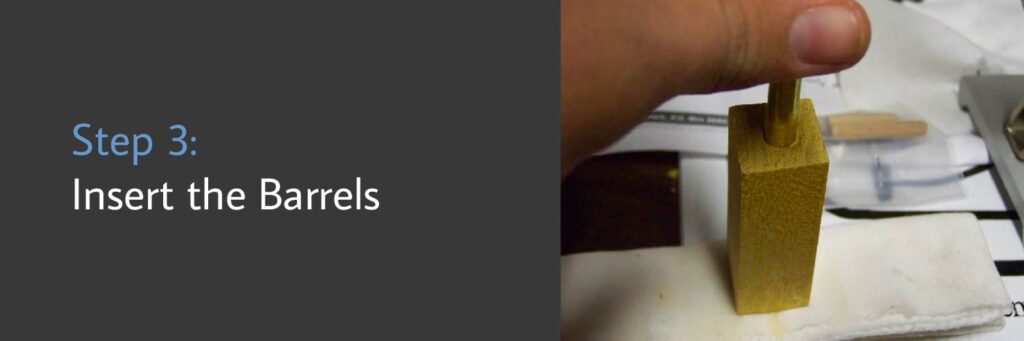
After that, use the sandpaper on the brass barrels to reduce their shine. Apply some epoxy to the tube and push it inside the blanks.
To ensure maximum attachment, pull and twist the blank so that the epoxy will spread to all sides.
Push in the tube so that no end is sticking out of the blanks.
Step 4: Squaring the Blanks
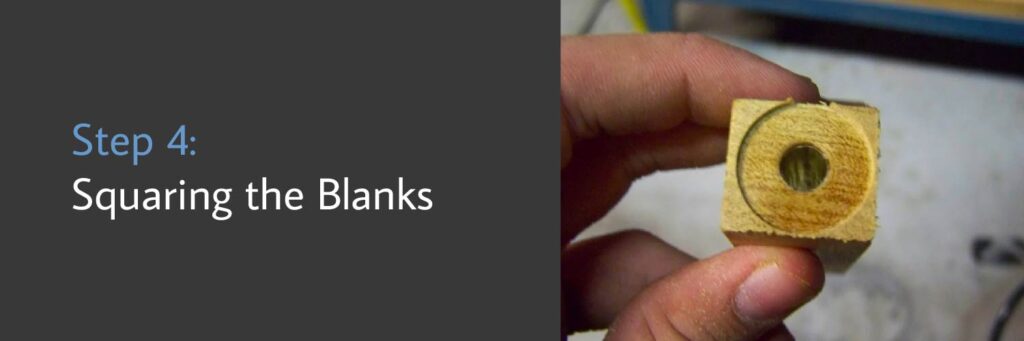
To do this, you can either use a special tool or a sand paper and a square. However, we recommend using a pen mill and a drill, especially if you are new at creating wooden pens.
Using the bench vise, secure the blank and slide the shaft into the brass tube. Trim any remaining wood.
Make sure that you do not drill down too far. This might cause the tube to stick out on the other end and the wooden pen will have a gap. We don’t want this to happen.
Step 5: Turning the Pen
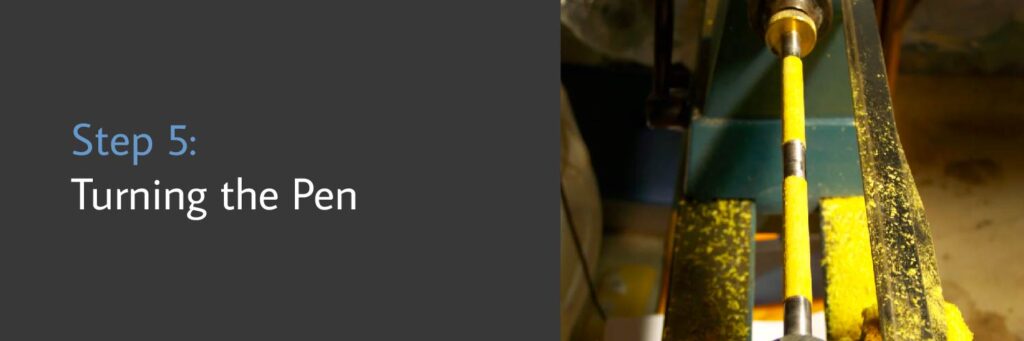
And this is the part where we turn the pen on a lathe. The first step is to insert the mandrel into the headstock.
Put the blank in between two bushings. This will hold it together while it turns on the lathe.
Secure this setup with a locknut and slide the tailstock and live center against the free end of the mandrel.
Rotate the blank using your hand. If your lathe has a speed control settings, you can set it to 1,000 RPM.
To make the process easier, you can also use a roughing gouge to round the blank into the shape you want it to be. Just make sure that you place it perpendicular to the whole setup.
Once you have framed a smooth cylinder, you can adjust the speed of the lathe to 1,500 to 2,000 RPM. Repeat this process with the second blank.
TAKE NOTE: Make sure that you do not cut into the bushing or brass tubes while you are turning the pen on the lathe.
How to Choose the Best Lathe to Turn Pens

Choosing a lathe is one of the most important tasks a wood maker needs to do.
In this section, I will offer you some guidance in choosing this “oldest power tool,” including some essential characteristics that your lathe needs to have.
Heavy
The general rule is, the heavier the lathe, the better. Remember, you will be turning multiple projects on this equipment, do you really want it to be vibrating or moving?
There is nothing but sheer weight that will be able to minimize the amount of vibration happening. Buy a casted lathe rather than a fabricated one.
Measurements
The distance between the two centers of the setup determines the maximum length of the workpiece that you can work on.
For beginners, I recommend that you get something from 30 inches to 36 inches.
Mount
Another factor to consider is how the lathe will be mounted. It can either be mounted on a bench or directly on the floor.
I have one tip for you: the surface of the mount must be really solid.
If you are serious about pursuing wood carving as an activity, the floor would be a good idea, otherwise, the bench makes more sense.
Controls
An electrical speed control makes it easier for everyone involved. It can give you an infinite number of variations and automatically set the right control for your project.
Some controls even have memory functions that remember the speeds that you usually use. How cool is that, right?
Here are some beginner-friendly wood lathes you can check out!
FAQs
At What Speed Do You Turn Pens on a Lathe?
Depends on what stage you are in the process, but you can adjust it from 500 RPM to 2,000 RPM.
How Do You Stabilize Wood to Turn a Pen?
You can set the blanks up with a clamp so that you can drill through without much moving.
Alternatively, you can also use a makeshift stabilizer to ensure that the blanks will not move while turning on the lathe.
At first, it may seem like the hardest part is to get the right setup to stabilize the wood, but with time, you’d be breezing through this in no time!
What Is the Easiest Wood to Turn on a Lathe?
The easiest species are pine and cherry. Unlike other types, these are easy to shape, making them perfect for beginners.
I remember my first time trying out turning a pen on a lathe on pine wood, too!
Here’s a guide on woods you can use for lathe turning.
Conclusion
We hope you learned a thing or two about turning a pen on a lathe.
Woodworking does not have to be intimidating, especially if it is something you want to do.
Enjoy, and good luck creating your pen!