Disclaimer: As an Amazon affiliate, I may earn a small percentage from qualifying purchases. This is at no extra cost to you. Learn more here.
It’s not always possible to hold the work steady, especially if it will take more than an hour, right?
Setups that help our project become more stable are necessary for us to complete our work. That’s why in this article, I am going to tell you all about using a steady rest on a lathe.
I will be including the steps on how to use a steady rest, why it is crucial to use one, and more.
Let’s dive right in!
Key Takeaways:
- A steady rest is a setup that consists of a frame and three adjustable jaws to support a work.
- There are A LOT of types of steady rests and each of them serve a different function.
- A steady rest can be used to prevent deflection, provide auxiliary support, or be a stabilizer during drilling, boring, or internal threading.
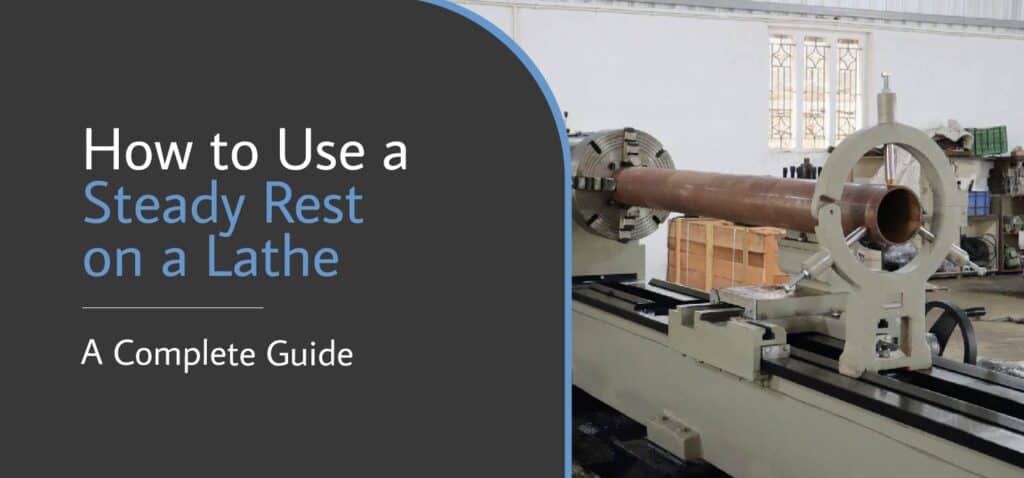
What Is a Steady Rest and What Is It Used For?

A steady rest is a heavy and often rigid ring that is affixed to the bedways of a lathe. It is equipped with jaws that support the project you are working in.
Steady rests are a necessary part of the workstation when the wood is stubborn and stiff, or it is too long for you to support on your own.
Having a steady rest will help keep the project in place while you work on it. It also keeps the distortions and deflections at a minimum.
How Do I Use a Steady Rest on a Lathe?

In this section, I will teach you how to properly set up a steady rest on a lathe, including preparing your workstation.
Step 1: Prepare Your Space
Before setting up the steady rest, you must first machine and polish the bearing surface. The bearing surface is usually a part of the setup already, and is machined directly on the work.
The steady rest is what goes under the bearing surface. To make sure that you won’t need to move the rest around to polish the surface, do it before setting up the steady rest.
Clean the portion where the steady rest would be mounted.
Step 2: Place the Steady Rest
Position the steady rest beneath the bearing surface and clamp loosely. Open the top portion of the steady rest and place the piece you are working on in the chuck.
To steady it, clamp it down and adjust the jaws to the measurements of the workpiece.
When you close the top of the steady rest, make sure that there is about a 0.001 inch clearance between the jaws and the piece.
Check if the locking screws are tightened. If they are not, tighten them on the adjustable jaws.
Step 3: Lubricate the Bearing Surface
Generously pour some heavy oil on the bearing surface before turning the lathe on. This oil must continuously be present between the bearing surface and the adjustable jaws.
Types of Steady Rests
There are around 10 types of steady rests. In this section, I will do my best to introduce them all to you and their particular uses.
#1 With Collapsible Top
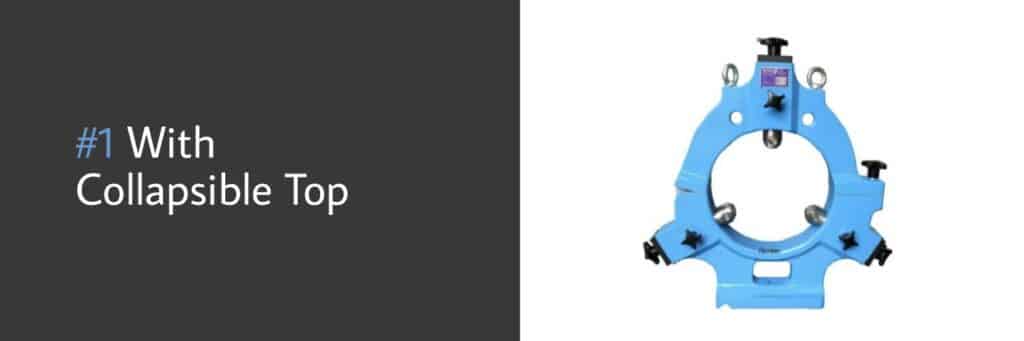
This type is best for workspaces that are small. It is best for a project or workpiece that have more than Ø 300 mm and Ø 70 mm quills.
#2 With Removable Top
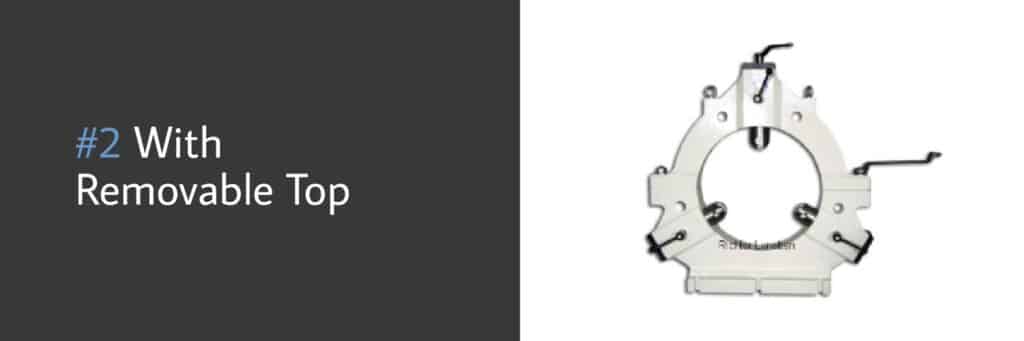
For workspaces that have a diameter of 400 to 1,500 mm, this steady rest can load up to 30 tons.
#3 With Swiveling Top
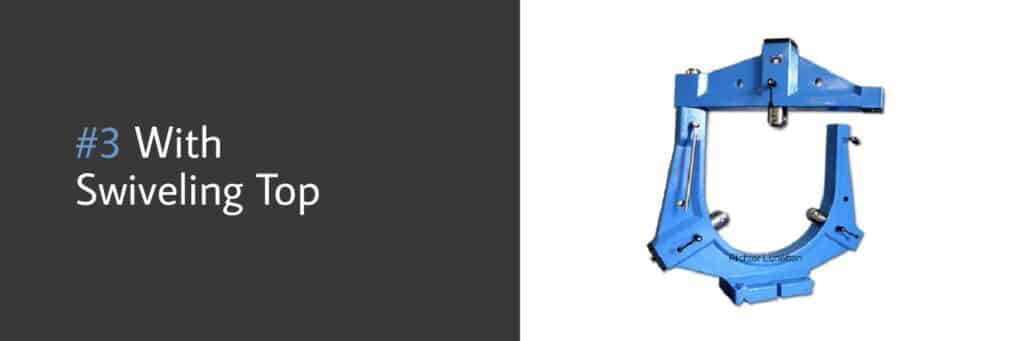
The difference of this type to the removable top is that the swiveling top enables it to reduce the set up time for a new steady rest or application.
These steady rests are designed for processes that consist of minimum standstill time.
#4 Traveling Steady Rest

If your process involves thread cutting long shafts or continuous processing, then this is the best steady rest for you.
They are also suitable for tools up to Ø 400 mm.
#5 C-Form

If you think you would need more than one steady rest, this C-form is designed to be used with several additional steady rests.
It is best for loads reaching up to two-digit tons.
#6 Open and Closed Grinding Steady Rest
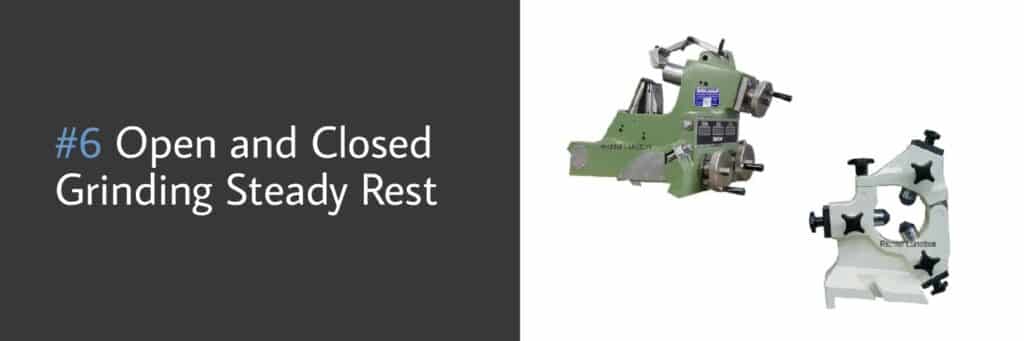
For loads up to two-digit tons, this grinding steady rest uses different materials to facilitate tool contact.
Another subtype is the closed grinding steady rest.
#7 Open Steady Rest
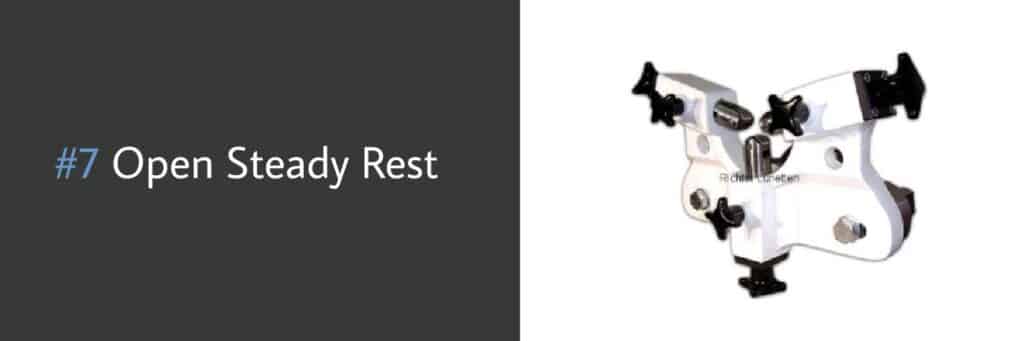
This one is suitable for small batches of work, and it does not take long for it to start operating once turned on.
#8 Roller Steady Rest
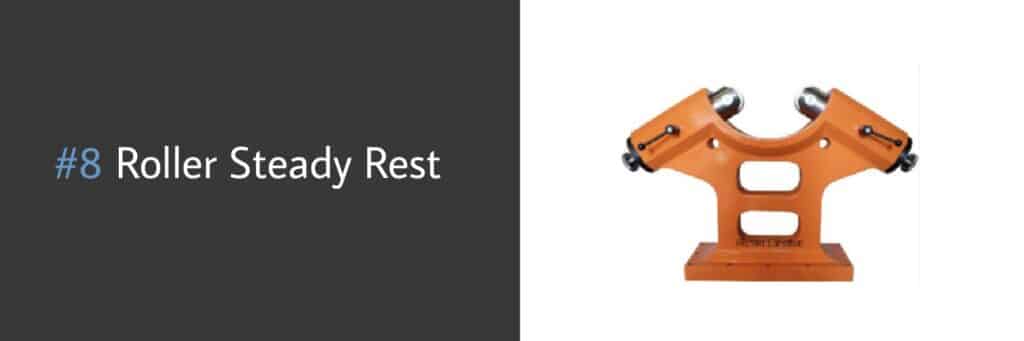
If you notice, this type of steady rest does not have an upper quill. This one is usually used to keep long shafts from sagging.
Subtypes of this include the roller steady rest with slide, sliding steady rest, and floating roller block.
#9 Ring Steady Rest
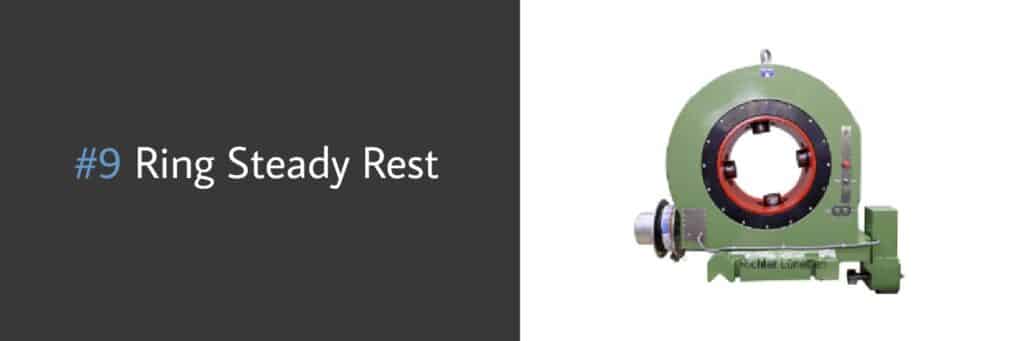
If you are working on a piece that is long and thin, this is the perfect steady rest for it.
This is one of the most convenient types I’ve ever used, as the quill and the workpiece will rotate together, saving me loads of time.
#10 Tailstock

A tailstock is a counterpart of a circular table. Your workpiece can have a quill diameter of up to 200mm when using this one.
FAQs
What Is the Difference Between a Steady Rest and a Follower Rest?
A follower rest is best for work pieces that tend to be long and slender shafts.
These types of projects tend to spring and whip, while those needing a steady rest are prone to distortion.
What Is a Lathe Dog Used for?
Lathe dogs or lathe carriers are used to clamp the work. Aside from that, it also helps the piece rotate to the motion of the machine.
What Is the Difference Between a Latch Plate and a Strike Plate?
A latch plate is the small metal plate that you see on the edge of the door, next to the latch or deadbolt. It protects the lock from the usual wear and tear.
On the other hand, a strike plate is a metal that holds the door closed. It works with the lock to keep the door secure.
Conclusion
I hope you learned a thing or two about steady rests, and why they are so important in any workstation.
Working with a steady rest not only makes your work smoother and faster, it also ensures the quality of your project.